 TecnoOrange
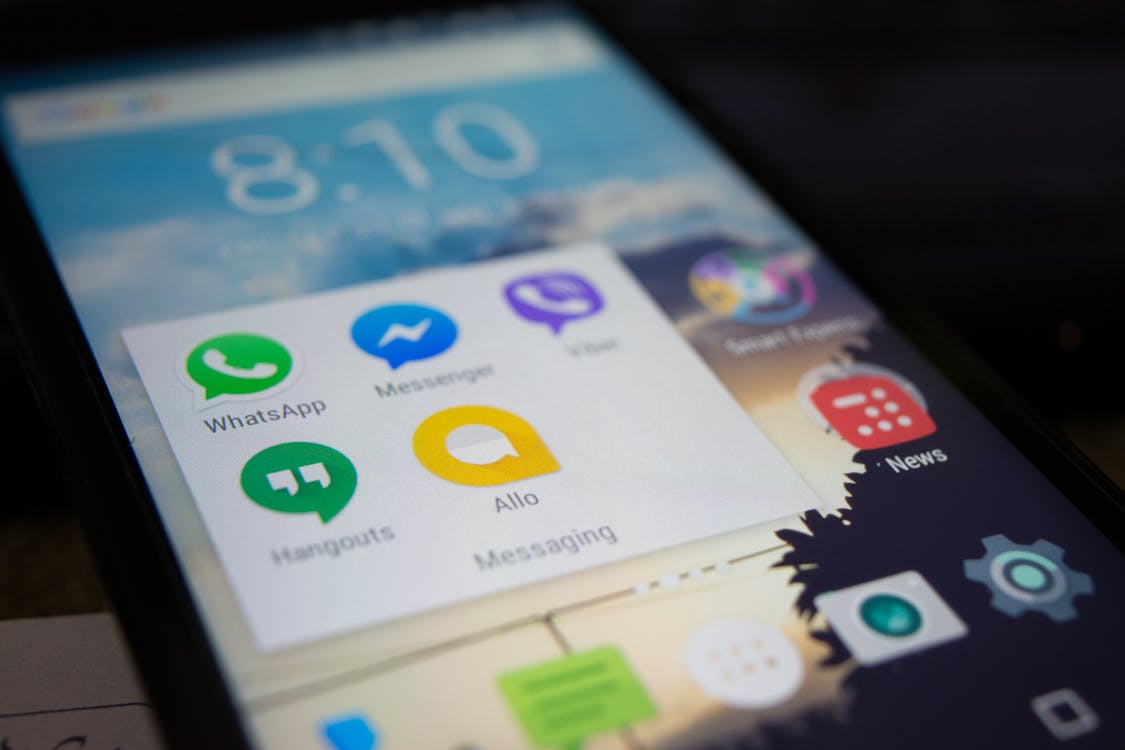
I spent years typing WhatsApp messages with my thumbs like everyone else, but since I discovered how to enable voice dictation on Android, my way of communicating completely changed. Especially when I’m driving, cooking, or just have my hands full, voice dictation becomes an essential tool.
In this article, I’ll walk you through how to set up voice dictation on Android so it works in every single app, from messaging to email.
Table of contents
Table of contents
What is voice dictation on Android?
Voice dictation is a feature that converts what you say into written text. On Android, this functionality depends on the speech recognition engine you use, and the most common one is Google’s, which is built into the Gboard keyboard.
The main advantage of voice dictation is that it works across the board. You don’t need to open a specific app or configure anything separately in each application. Once the recognition engine is enabled, you can use it in WhatsApp, Telegram, Gmail, Google Docs, the notes app, your browser, and practically anywhere you can type.
That said, I want to be honest with you: voice dictation isn’t perfect. It makes mistakes, especially with proper names, technical terms, or in noisy environments. But for everyday messages, quick emails, or even dictating long ideas, it works really well.
Pro-tip: If you use voice dictation a lot, consider getting headphones with an external microphone. Recognition quality improves dramatically when the mic is close to your mouth.
How to enable voice dictation step by step
Setting up voice dictation on Android is fairly simple, but you need to make sure everything is properly enabled. Let’s go through it step by step:
Step 1: Make sure you have Gboard installed
Gboard is Google’s keyboard and comes pre-installed on most Android phones. If you don’t have it, download it from the Play Store. It’s free and has no intrusive ads.
Step 2: Set Gboard as your default keyboard
Go to Settings → System → Languages & input → On-screen keyboard. Select Gboard as your default keyboard. If you already have it, move on to the next step.
Step 3: Enable voice dictation
Open any app where you can type, for example WhatsApp. Tap the text field to bring up the keyboard. You’ll see a small microphone icon in the keyboard’s top bar. Tap it once to test.
If it’s your first time using it, Android will ask for microphone permissions. Accept without worry — without that permission, dictation simply won’t work.
Step 4: Set the correct language
Voice dictation might be set to English by default. To change it, go to Settings → System → Languages & input → Preferred languages and make sure your language is added. You can also configure the language directly from the keyboard: long-press the microphone icon and select your language.
Pro-tip: If you speak multiple languages, you can enable multilingual detection in Gboard. This lets you dictate in one language and switch to another without touching any settings.
Voice dictation works in ALL apps
Once Gboard is properly configured, voice dictation works in any application that has a text field. This includes:
- Messaging: WhatsApp, Telegram, Signal, Messenger
- Email: Gmail, Outlook, Yahoo Mail
- Notes: Google Keep, Notion, Samsung Notes
- Social media: Twitter/X, Instagram (direct messages), Facebook
- Browsers: Chrome, Firefox, Edge (search bars)
- Productivity: Google Docs, Microsoft Word, Slack
The mechanics are always the same: you tap the text field, the Gboard keyboard appears, you press the microphone icon, and you speak. Text appears in real-time as you dictate.
There’s something many people don’t know: you can use voice commands to add punctuation. For example, if you say “period” at the end of a sentence, the dictation will insert a period. The same goes for “comma,” “question mark,” “new line,” or “semicolon.” It takes a little getting used to at first, but once you get the hang of it, dictation becomes much more fluid.
Alternatives to Gboard for voice dictation
While Gboard is the most popular option and the one I recommend for most users, there are other alternatives if you’re looking for something different:
| Keyboard | Accuracy | Supported languages | Price | Extra features |
|---|---|---|---|---|
| Gboard | High | 900+ | Free | Built-in translation |
| SwiftKey | High | 70+ | Free | Advanced prediction |
| Otter.ai | Very high | Mainly English | Freemium | Long transcription |
| Speechnotes | Medium-High | 100+ | Free | Export text |
Gboard is my recommendation for general use because it’s the most integrated with the Android ecosystem. SwiftKey is interesting if you want a more customizable keyboard. For very long or professional dictation sessions, tools like Otter.ai or Speechnotes offer more specialized features, though with limitations in some languages.
Tips to improve voice dictation accuracy
After using voice dictation for quite some time, I’ve learned some tricks that significantly improve accuracy:
-
Speak clearly and at a moderate pace. You don’t need to speak very slowly, but avoid mumbling or speaking too fast.
-
Reduce background noise. If you’re in a noisy place, find somewhere quieter or use noise-cancelling headphones.
-
Use punctuation commands. As I mentioned before, saying “period,” “comma,” etc., greatly improves the final result.
-
Correct after dictating. Don’t try to correct errors by speaking — it usually creates more confusion. It’s better to finish dictating and make corrections manually.
-
Train the recognition. The more you use voice dictation, the better it’ll understand you. The system learns from your way of speaking.
Warning: Voice dictation uses mobile data if you’re not on WiFi, since voice processing happens on Google’s servers. If you have a limited data plan, keep this in mind before using it excessively.
Common voice dictation issues and how to fix them
Although voice dictation on Android works pretty well in general, problems can pop up. Here are the most common ones and how to fix them:
The microphone icon doesn’t appear
This usually happens if you have another keyboard selected as default. Go to Settings and make sure Gboard is active. It can also happen if Gboard doesn’t have microphone permissions.
Dictation doesn’t recognize my words well
Check that the language is correctly configured. If you’re dictating in Spanish but the engine thinks you’re speaking English, accuracy will be terrible. Also check the language settings in Gboard.
Dictation stops after a few seconds
This can be due to internet connection issues, since processing happens in the cloud. Make sure you have good WiFi or mobile coverage.
FAQ: Frequently asked questions
Does voice dictation work without internet?
Not in most cases. Google’s speech recognition requires an internet connection because processing happens on their servers. However, some Samsung and Google Pixel phones have limited offline recognition models.
Can I use voice dictation in multiple languages at once?
Yes, Gboard allows automatic language detection. Enable this feature in Gboard’s settings and you can switch between languages without touching anything.
Does voice dictation record my conversations?
Google processes the audio to convert it to text. According to their privacy policy, you can review and delete your voice data from your Google account at myactivity.google.com.
Is voice dictation suitable for writing long documents?
It works, but it requires patience. For very long texts, it’s better to dictate paragraph by paragraph and make corrections in between. Some apps like Otter.ai are more optimized for long transcriptions.
Conclusion
Enabling voice dictation in any app on Android is much simpler than it seems. You just need Gboard set as your default keyboard and a decent microphone. From there, voice dictation works across WhatsApp, Gmail, notes, social media, and any other application.
I’ve been using it for a while now, and although it’s not perfect, it’s helped me be much more productive when I can’t use my hands. Give it a try for a week and you’ll see how it becomes a habit.